
I’m often asked how I create a surface pattern design so I thought I’d do a blog post to share how. The process varies according to the design and finished look, so this is one of a few of my methods. I work mainly in Illustrator and Procreate, with a little bit of Photoshop thrown in. The pattern I’ve created here is cooking themed, and I wanted it to have a textured and 3D effect. This I do in Procreate so this pattern was created more in Procreate than Illustrator.
Step 1 – draw motifs
For all my patterns I usually draw the motifs in Procreate. Here I was drawing cooking themed objects and I wanted each object to be made up of three layers. Colours don’t matter at this point so I pick random different colours so I can see what I’m doing.

The images below show each layer of the motifs, with yellow and blue on top of the red layer
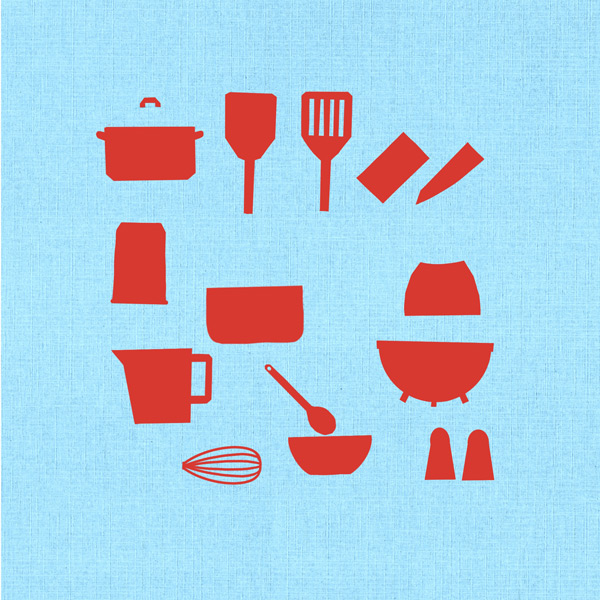
layer 1: red 
layer 2: blue 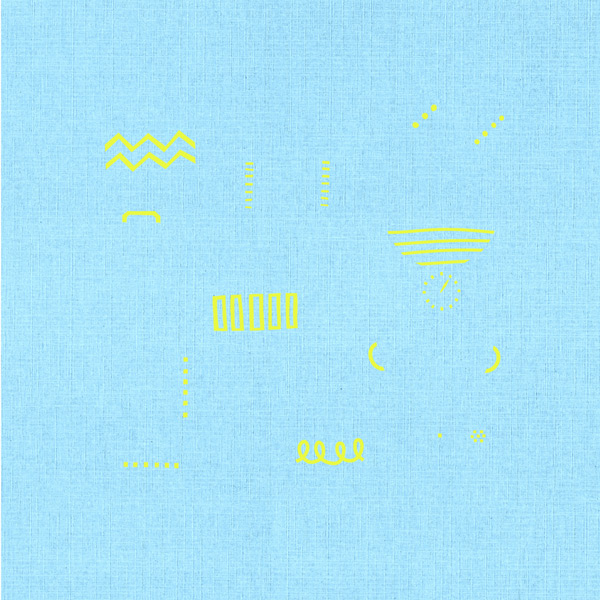
layer 3: yellow
Step 2 – Design the pattern
I copy the motifs into Illustrator and create the repeat pattern. This pattern is a half-drop repeat and you can visualise it by thinking of a brick pattern on a house, but the other way up! I create a tile which is twice as tall as it is wide e.g. 15 cm wide by 30 cm tall and position the motifs in the tile (the black rectangle). Any motif on the edge of the tile gets repeated. So the cooking pot at the top left of the tile is repeated on the bottom left, and then exactly half way down the right hand side. Anything outside the tile box doesn’t show when the pattern is finished.
This part is quite like doing a jigsaw puzzle – getting everything to fit without big gaps or anything over-lapping!

Once I’m happy with the layout I repeat the tile, to see how the pattern looks when repeated.

Step 3 – add colour and texture
I take the motifs I’ve arranged in the tile and delete everything so that I just have each motif once. Then it’s back to Procreate where firstly I colour everything. Usually I use photos to sample colours, but in this instance I’d just changed my brand colours, so these are actually my four new brand colours + white.
With this pattern I also added texture, highlights and shadows, but that’s a slightly more complicated process I’ll save for another post!
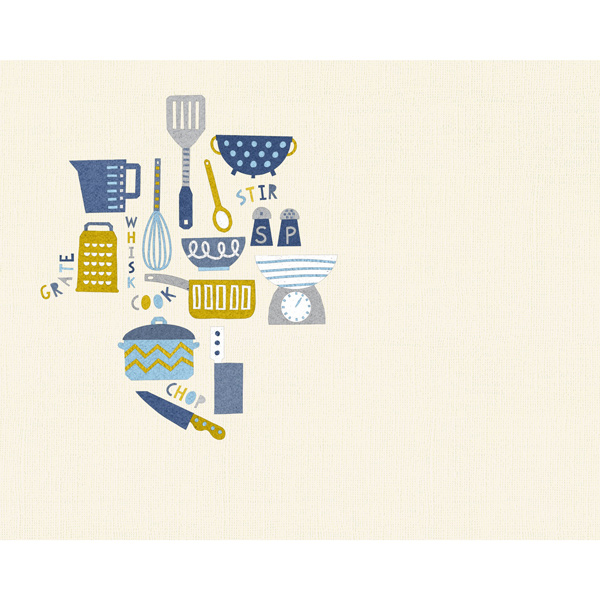
Step 4 – create the finished pattern
Once I’m happy with how each motif looks, I can create the repeat pattern again. This is just a case of selecting all the motifs and repeating them.
I am going to use this pattern for a notebook design, so I also create the box for the front cover personalisation. I had hand-drawn the words used in the pattern, but based on a font I had already created, so the personalisation should match okay.

Step 5 – create the notebook
After a couple of test prints to check colours and scale, I’m happy with the finished design and ready to create the first cooking design notebook.

It’s now listed for sale in my shop and you can view the listing here: cooking themed personalised notebook
I hope you’ve found this post on how I create a surface pattern design useful. Please let me know if you have ideas for future posts!
Leave a Reply